Webassembly: Running Go code in the browser.
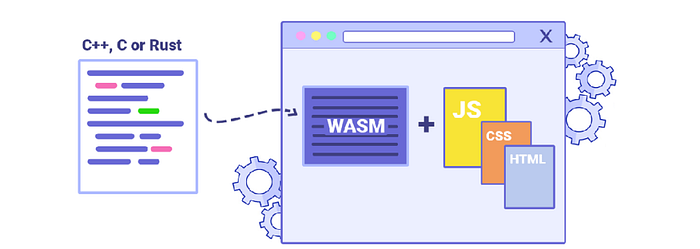
Webassembly (WASM) is one of the most disruptive technologies at this moment. WASM enables us to run programs in the browser that was written in programming languages not supported by the own browser. We can do it because some programming languages can be compiled into WASM and WASM is supported by all the browsers.
For instance, we can write Rust or Go code and execute it as we do with Javascript.

The most common uses of WASM are:
- Images optimization compression.
- Harvest old code that was written in the past and bring it into the modern web world.
- Encryption.
- Game development.
WASM vs Javascript
Performance
The main difference with Javascript (JS) is that JS is a dynamic language. It means that the process to execute a piece of JS on a browser looks like the below:
- The browser pulls down the JS from the server
- It starts parsing all the JS
- It converts the downloaded JS code into abstract syntax trees.
- It does a sort of compilation into bytecode.
On the other hand, WASM is a static language and the code that is executed has been compiled in advance so we just need to pull down the WASM
Interoperability
The usage of WAS becomes very interoperable. We can write code in both JS and WAS and then we can make calls between pieces of code written in a different language.
WAS code can call JS functions and vice-versa, JS code can call WAS functions.
Learning by doing
In this tutorial, we will learn to compile Go code to WASM and execute it in the browser.
We will learn to implement a JSON Beautifier Online service. This service will be implemented in Go and It will be executed in the Browser. (It sounds great, doesn’t it?)
Trying to implement the full problem from scratch could be hard to follow it. Thus, we will go step by step through different examples before doing the final solution.
Prerequisites
- Let’s clone the code
> git clone git@github.com:ivancorrales/wasm-tutorial-go.git
> cd wasm-tutorial-go
The only Software that you need to have installed on your computer is Docker Don’t worry If you don’t have the Go compiler in your system, we will take advantage of Docker.
The code

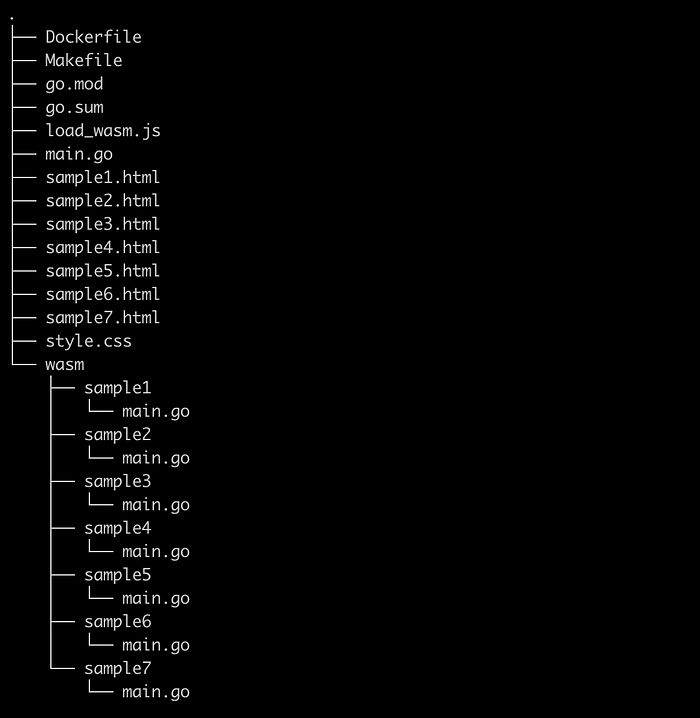
The tutorial is composed of 7 steps. That’s the reason why you will find 7 HTML files at the root of the repository (sample[N].html, N=1…7) and 7 subfolders under wasm. The folders under wasm contain the Go code that will be compiled to WASM.
At the root of the repository, you will find a styles.css (commons CSS styles used in the different samples), load_wasm.js (this file is used to import the files compiled to wasm format) and, main.go which is a program used to serve static content (the HTML pages).
We will use the multistage Dockerfile at the root of the repository to build and run the samples. Although we’re not going to explain how this Docker works, feel free to reach me If you have any questions or suggestions.
STEP 0 — Launch the server
Execute the below commands to create the docker image and make it run. This will launch a static server on port 3000. If this port is busy, you just need to update the mapped port in the Makefile
> make build
> make run
STEP 1 — Sending messages to the output console
This is the most basic scenario. We will write a message in Go that will be sent to the output console in the browser.
This code is compiled into a WASM file and loaded from the HTML page as It’s shown below. The way that we import the WASM file will be exactly the same for all the samples.
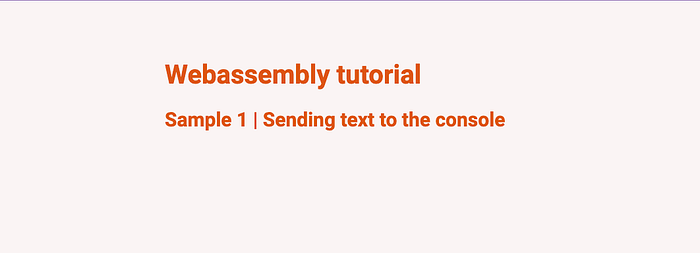
Visit the URL http://127.0.0.1:3000/sample1.html to check the sample 1

If we open the Dev Tools in the browser we will see the message “Hello my friend” that was printed in the main.go file.

STEP 2— Modifying the HTML
In this step, we will learn to modify the content of the page from Go. What we‘ll do is to add text to the page dynamically.
In this case, we have an empty H2 element, whose content will be populated from the Go code.
Visit the URL http://127.0.0.1:3000/sample2.html to check the sample 2

STEP 3— Appending HTML elements
In the previous step, we learned to modify the value of an HTML element. In this one, we will learn to create a new element.
Instead of populating the value for the element H”, we will create the element from the Go code.
Visit the URL http://127.0.0.1:3000/sample3.html to check the sample 3

STEP 4— Modifying the classes of an HTML element
We will learn to change the class of an HTML element. We do both removing and adding new classes to the HTML element. This step will update the class of an H3 element every 2 seconds.
We will replace the class of the element with the id simpleText
The class of the H2 will be changed every 2 seconds from .green to .pink and vice-versa.
Visit the URL http://127.0.0.1:3000/sample4.html to check the sample 4

STEP 5— Modifying properties of the HTML elements
This step could look similar to the previous one, but they’re completely different each other. In this step will be interacting with the properties of the HTML elements. Concretely, we will modifying the style property of an H2. We will update the display value from block to none and vice-versa. This will make that the text, in the H2 element, blinks.
Visit the URL http://127.0.0.1:3000/sample5.html to check the sample 5

STEP 6 — Reading the HTML content from Go
We will learn to read the content of the text of an H2 element, then we will convert the text to uppercase and finally we will display the converted text in the page.
The text in the HTML element with id description will be uppercased and displayed in element with id descriptionUppercase.
The code in Go is not rocket science as you can see below
Visit the URL http://127.0.0.1:3000/sample6.html to check the sample 6

STEP 7— Final step
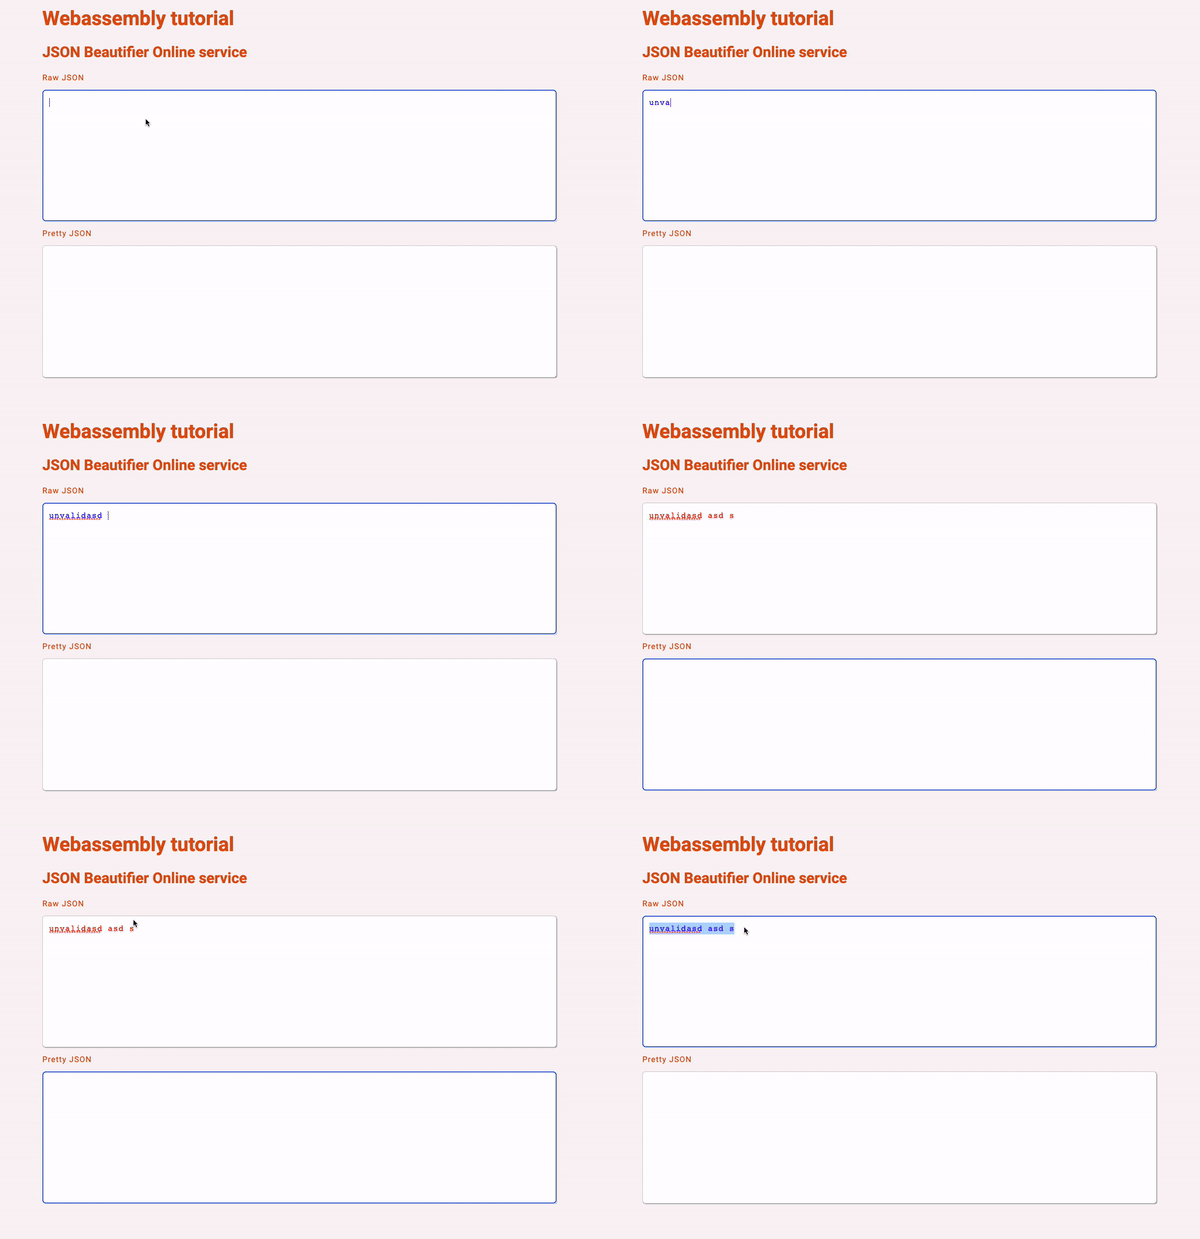
We already have all the required knowledges to write, in Go, our own JSON Beautifier Online service.and make it run in the browser.
Our page will contain two textarea fields, one with the input text and the second one will display the text in a pretty mode. We will play with the HTML events onblur and onfocus to apply some styles to the input textarea field.
- Line 11: This is the way to open an
alertfrom Go. - Line 45: We will display the error in the Dev Tools of the browser.
- Lines 57–58: The first value in function
Setwill be name used to register our Global function.
Visit the URL http://127.0.0.1:3000/sample7.html to play with our JSON Beautifier online service.

I hope you enjoyed the tutorial as much as I did writing it!

